So many of you probably don't know this, but I purchased my Grandmother's house in 2012 after she passed away. It was a great little home with some old charm.
It made me feel close to her still, but of course I couldn't live in ALL THAT WALLPAPER.... Right away we painted almost every wall....okay literally every wall was painted. I mean, it desperately needed a face lift. But the kitchen cabinets I left. As I live in it they began to fill more and more dated and the space felt like it was closing in on me.
I began sifting through Pinterest and Houzz trying to spark inspiration on what I wanted. I already had green walls so I decided white. And of course, I went with my all time love of my life... Annie Sloan Chalk Paint. But I didn't want just that. I wanted to change the look of them. They are made to look like paneling so they had these grooves in them that are completely spaced randomly (you know, to look like wood paneling).
I had this ingenious idea to cover them all in a bead board wallpaper and then put a trim around them. I went to Lowe's OF COURSE and began my search. I found this awesome bead board wallpaper (in case you weren't aware, you can no longer purchase wallpaper in store you have to order online) and purchased a heck of a lot of trim board.
So, I am sure you are like, quit jabbering and tell me how you did it already!!
Supplies:
- Cabinet doors removed
- New hinges (I had already replaced these)
- Paint (since I used chalk paint, I didn't need to strip any finish off but depending the type of paint you use, you may want to see what is suggested for that)
- Clear wax - I prefer Minwax Matte Oil-Based Finishing Wax
- Sanding paper (fine greet like 180 or higher)
- Wood trim
- Wallpaper (which I didn't end up using you will see below)
- Nail gun (I had one already with a compressor)
- New cabinet hardware if you are changing
- Painters tape
- Brown paper to help cover items in my cabinets
- Brushes (I recommend natural bristles especially for chalk paint and wax)
- Cotton rags for the wax
- Circular saw
Step 1:
First step was to begin removing all kitchen cabinets and drawers. I recommend having some bags or boxes handy as you will need somewhere to put your items from the drawers. I left everything in my cabinets. Also, make sure you have a large work-space set up, I suggest in a garage. Also, remove all hinges and cabinet hardware.
Step 2:
Begin taping off everything. I chose not to paint inside my cabinets so I left everything in them and covered with brown craft paper. I taped off all edges around the inside and anywhere the cabinets met the painted walls. Don't forget to tape around built in appliances and sinks as well.
Step 3:
I cleaned off all my cabinets since after all, this is in a kitchen and there's this little thing called grease that likes to build up... I like Mean Green because it doesn't have harsh fumes and really cuts through the grease. I just used and old rag and this to wipe down all doors, drawers, and base cabinets. I even had to use a straight razor for a few areas that were thick. If you are using a paint that requires sanding or stripping, I recommend doing that step next.

Step 4:
So, if you are using the wallpaper this is where you add it. Once I realized I bought LEGIT wallpaper I decided to nix that idea. I thought I had purchased the stick on but this was the kind that you have to run through water and such and no one has time for that. It ended up working in my favor however.
*Note: Pre-pasted does not mean stick on.*
Step 5:
I then added trim to my cabinet and drawer faces. Thanks to my Mom's meticulous measuring. 🤓 Make sure to measure twice, cut once. Cut the corners at 45° angles to the best looking finish. Although you are painting, you can still see how they are cut. You will then line up your pieces and nail them to your cabinet faces. Make sure you measure the depth for your nails. You don't want too long that you shoot the nail all the way through it or too short that they don't hold your trim to the cabinet. We used 1/4" x 1 3/4" for the doors and 1/4" x 1 1/8" for the drawers. Since the drawers are a smaller face, I used smaller for those as to not completely close in the drawer facing.


Step 6:
Paint time!!! This was my favorite part although long. I used Old White Annie Sloan Chalk Paint.

I don''t purchase Annie Sloan brushes (as they are too expensive for me) but make sure you use natural bristle brushes. The idea with chalk paint is to paint in every direction for that old, textured look. This was a difficult step for my mom as she likes to paint in long even strokes. There is a great video here on Annie Sloan's site to show you the technique I used. I also like to leave it open for a bit before I paint to let it thicken up. This also helps you get that texture.
I painted about 3 coats on all doors, drawers, and base cabinets. Sometimes you can get away with just 2 coats.
*Note: Chalk paint dries quickly and even faster in the heat so be aware. This can be a blessing and a curse.*

Before | After
Step 7:
Now it's time to wax!! I used just clear wax on this project but you could also add dark wax it that is the look you are going for. If you are using dark wax, I will add tips for that at the end of this step. Make sure you have your natural bristle brush and cotton rags. You can put most of the wax on with rags if you'd like, but you will need the brush for corners and small detail areas. I just put this on in a random pattern as to cover all the paint. You will be able to tell where you adding it as it will have a wet look.
Allow to dry until hard (usually 30 mins). Then, use a new rag (not the one you used to apply) to buff the wax. You will do this by rubbing in a circular motion. Dig down to your inner Mr. Miyagi. "Wax on, wax off." You will need to do this on all painted surfaces. This will create the barrier to protect your paint. I have read tutorials where people have also used polyurethane or other floor finishes. If you chose this route, please read their tips or tutorials on that as I didn't use this.
If you are using a dark wax.
- Apply a coat of clear wax first. Use my steps above on that.
- Apply your dark wax after the clear has completely dried. If you get it too dark, you can use the clear wax as an eraser.
- Apply another coat of clear wax once the dark wax dries and has the look you want.
*Note: If you apply the dark wax first, you will stain the paint and you CANNOT lighten it.*
Step 8:
I had 2 doors that had a metal screen in them. These I taped off on the white painted part (once it was dry of course). I used Rust-Oleum's Satin Nickel Metallic Enamel spray paint. There are many other color options but I was using all satin nickel hardware. Also, a pop of color would be fun!!
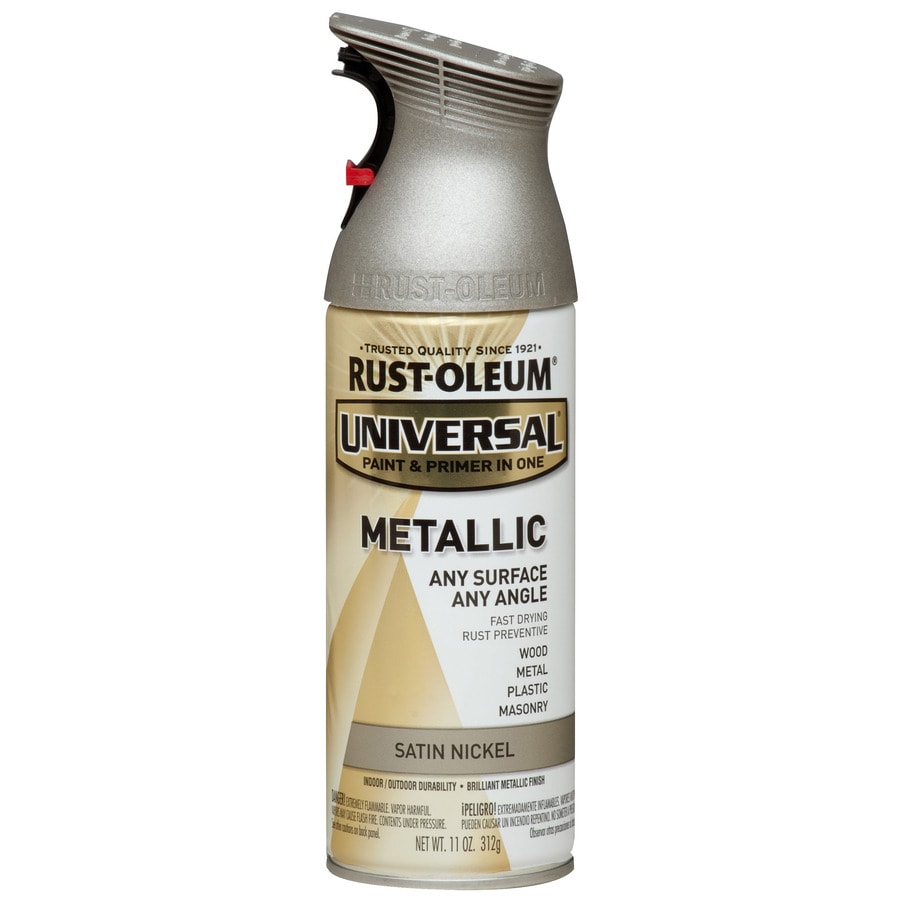
I have also used Rub-n-Buff before but it is very tedious on a product like this with all the holes. I sprayed 2 coats on the metal. I needed 2 because the meal had the same stain/finish as the cabinets on the metal which made it very yellow to begin with. Once that dried, I could remove the tape.

Before | After
Step 9:
Once everything has dried, go through and remove all your painters tape and paper. It looks so different doesn't it?

Nala thinks she's helping.
Step 10:
Add back your original or new hardware. This includes your hinges and cabinet hardware. I wanted pulls on everything so I had to drill 1. new holes anyways through the new trim and 2. a 2nd hole on the doors since they originally had knobs. I used an extra piece of trim to make template so that each door looked the same and used the original hole as guide. Once I had all those holes drilled I could add all my cabinet hardware. I actually took all this hardware from my Nana's house after she passed away.
Step 11:
Re-hang all your doors and put back all your drawers. Don't forget to put all your stuff back in your drawers!!!
Step 12:
I also went through and painted all the trim and paneling in my kitchen as well. Use the same steps as above for your paint and wax as I already laid out.

Step 13:
Enjoy your finished project!!! I am sure it turned out fabulous.

Before (Top) | After (Bottom)
Sorry still messy in these pics.

Before (Top) | After (Bottom)
Sorry still messy in these pics.
Post your before and after pictures in the comments below!!!


