So...if you are anything like me, you are always looking for new and cute scarves.
Well, if you really are anything like me, you hate paying for them. I am on a bit of a stricter budget,
so any money I can save is great.
I have several bags of old clothes that I keep meaning
to donate but as of right now,
they are dust collectors in my closet.
So, I went rummaging through them to find ones that I liked the fabrics of.
You are going to need:
Old T-Shirt
(The wider it is the longer your strands will be...The longer it is the more strands you will have)
Scissors
First thing you will need to do is lay your shirt out flat.

Then, you will cut straight across along the bottom seam and just under the arms.

Next, cut several strips approximately 1" wide. Make sure you don't cut all the way
through the top, leave about 1/2" at the top uncut.
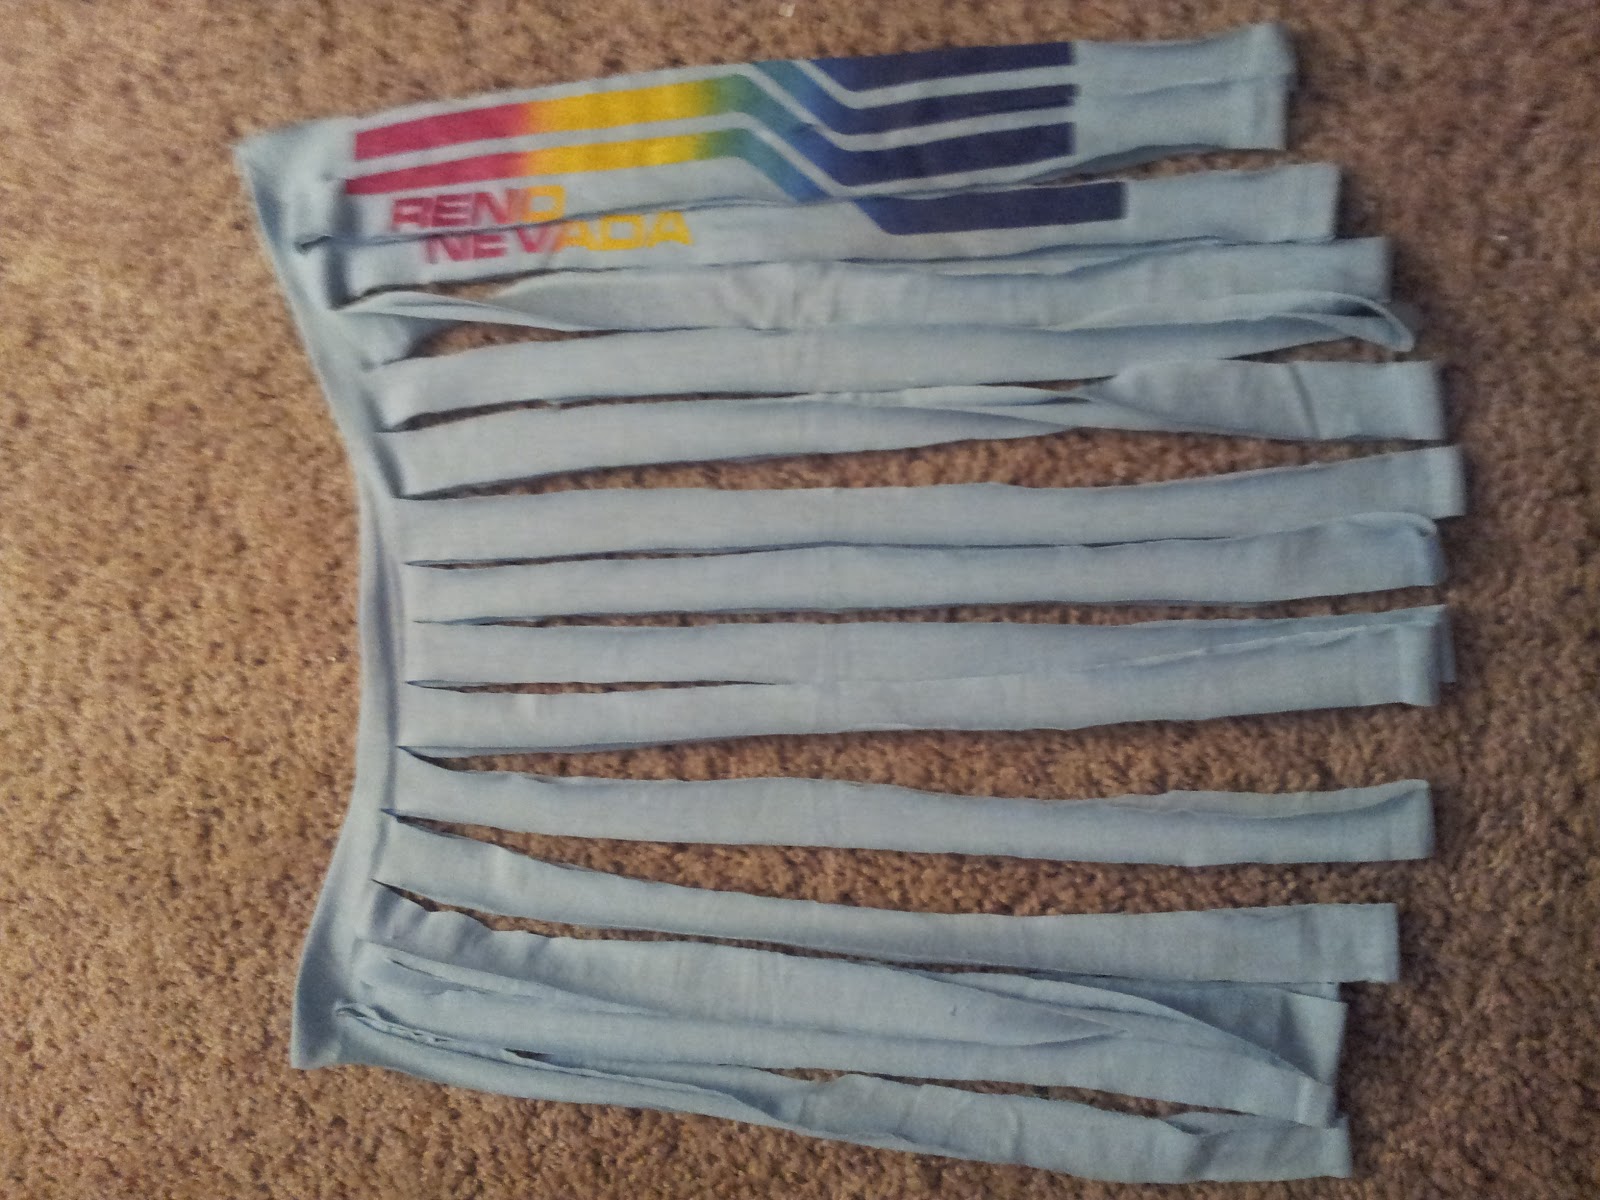
Once you have made all your cuts, pull each strand so it looks like spaghetti.

Here's a pic once you are done. You can leave your scarf just like this.

Otherwise, you can cut just the top layer of the strands at one end and braid them.
Normally you would want to cut 6 or 9 (so you have 2-3 strands in each braid strand)
I only did 3 for this scarf since they were the only strands that had screen printing on them.
The more strands, the thicker the braid.

Once you have braided them, tie the ends and then loop it and tie it to the
extra shirt from where you cut them.

Finished with the braid

Here are a few more that I did this way.
With a fatter braid.

Just plain strands.

With it looped twice to make a tighter scarf around the neck.

On this scarf, I cut the strands the other direction so there was a finished strand around
the top with loose fringes hanging.

Happy Scarfing!!
Sorry that all my pictures decided to flip around every which way they decided to go.
No comments:
Post a Comment